
 8 Min Read
 09/09/2026
Roof Storm Damage Repair: A 7-Step Guide to Prep for Upcoming Repairs
Once a storm has passed and repairs are on the calendar, there’s still real work to do before the crew shows up. Roof storm damage repair goes more smoothly, and often faster, when the groundwork is handled ahead of time, from documentation to clearing the property to understanding what your insurance policy actually requires of you.
Here’s a quick look at what we’ll cover:
- What to document before any repair work begins
- How to protect your home in the meantime
- What your insurance company expects from you during this window
- How to set your property up for a smooth repair day
If you’re getting ready for repairs, our roof storm damage repair team can walk you through exactly what to expect before the crew arrives.
Why Prep Work Matters as Much as the Repair Itself

It’s tempting to think the hard part is over once repairs are scheduled, but the days between severe weather and the actual repair are when a lot of avoidable problems happen on a storm damaged roof. Missing documentation, unprotected openings, and last-minute scheduling surprises are the most common reasons repairs get delayed or insurance claims get complicated. Learning to address storm damage promptly, rather than waiting until the crew arrives, protects both your home and your claim.
7 Steps to Prep for Roof Storm Damage Repairs
Working through these steps in order gives your repair the best chance of going smoothly from start to finish.
1. Document the Damage Before Anything Changes
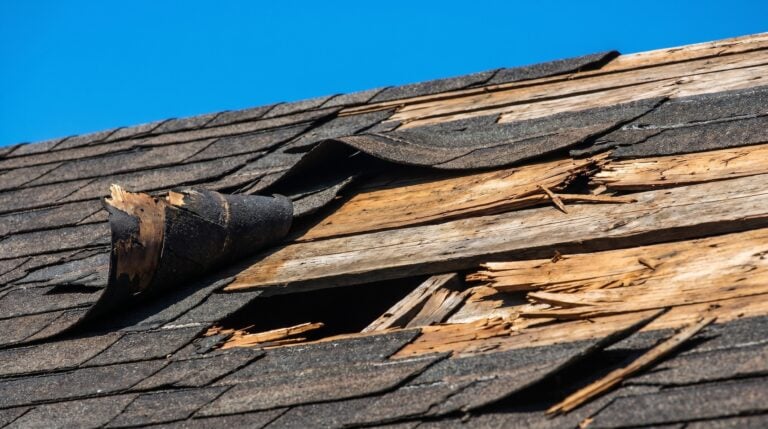
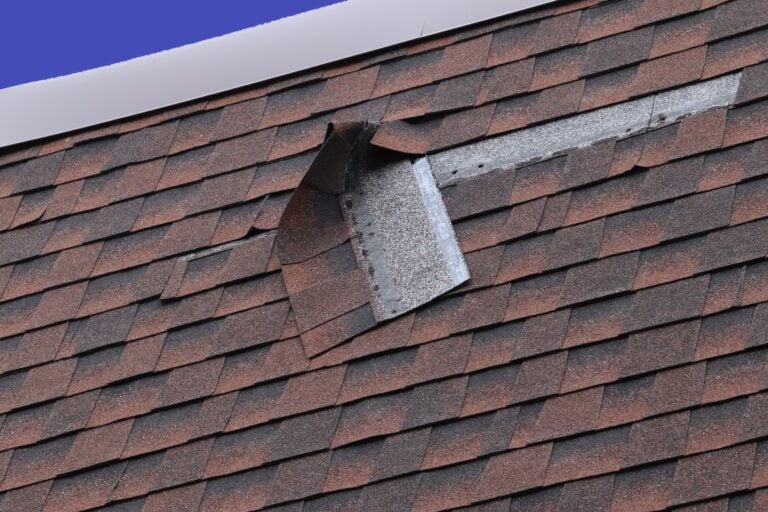
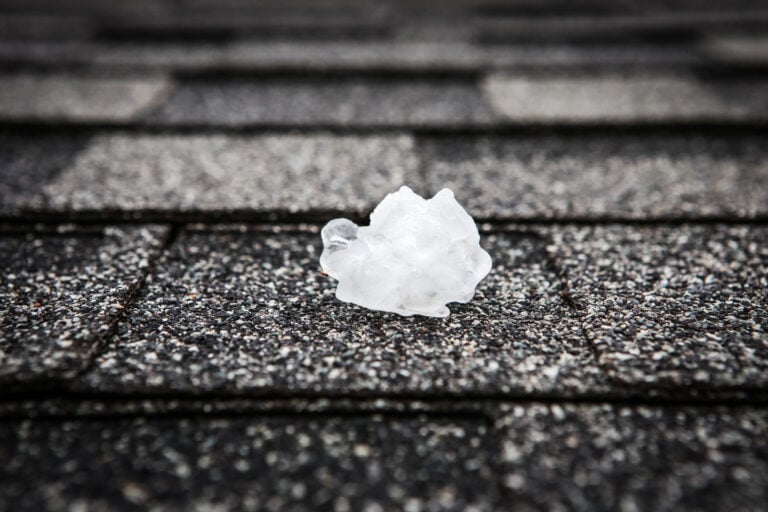
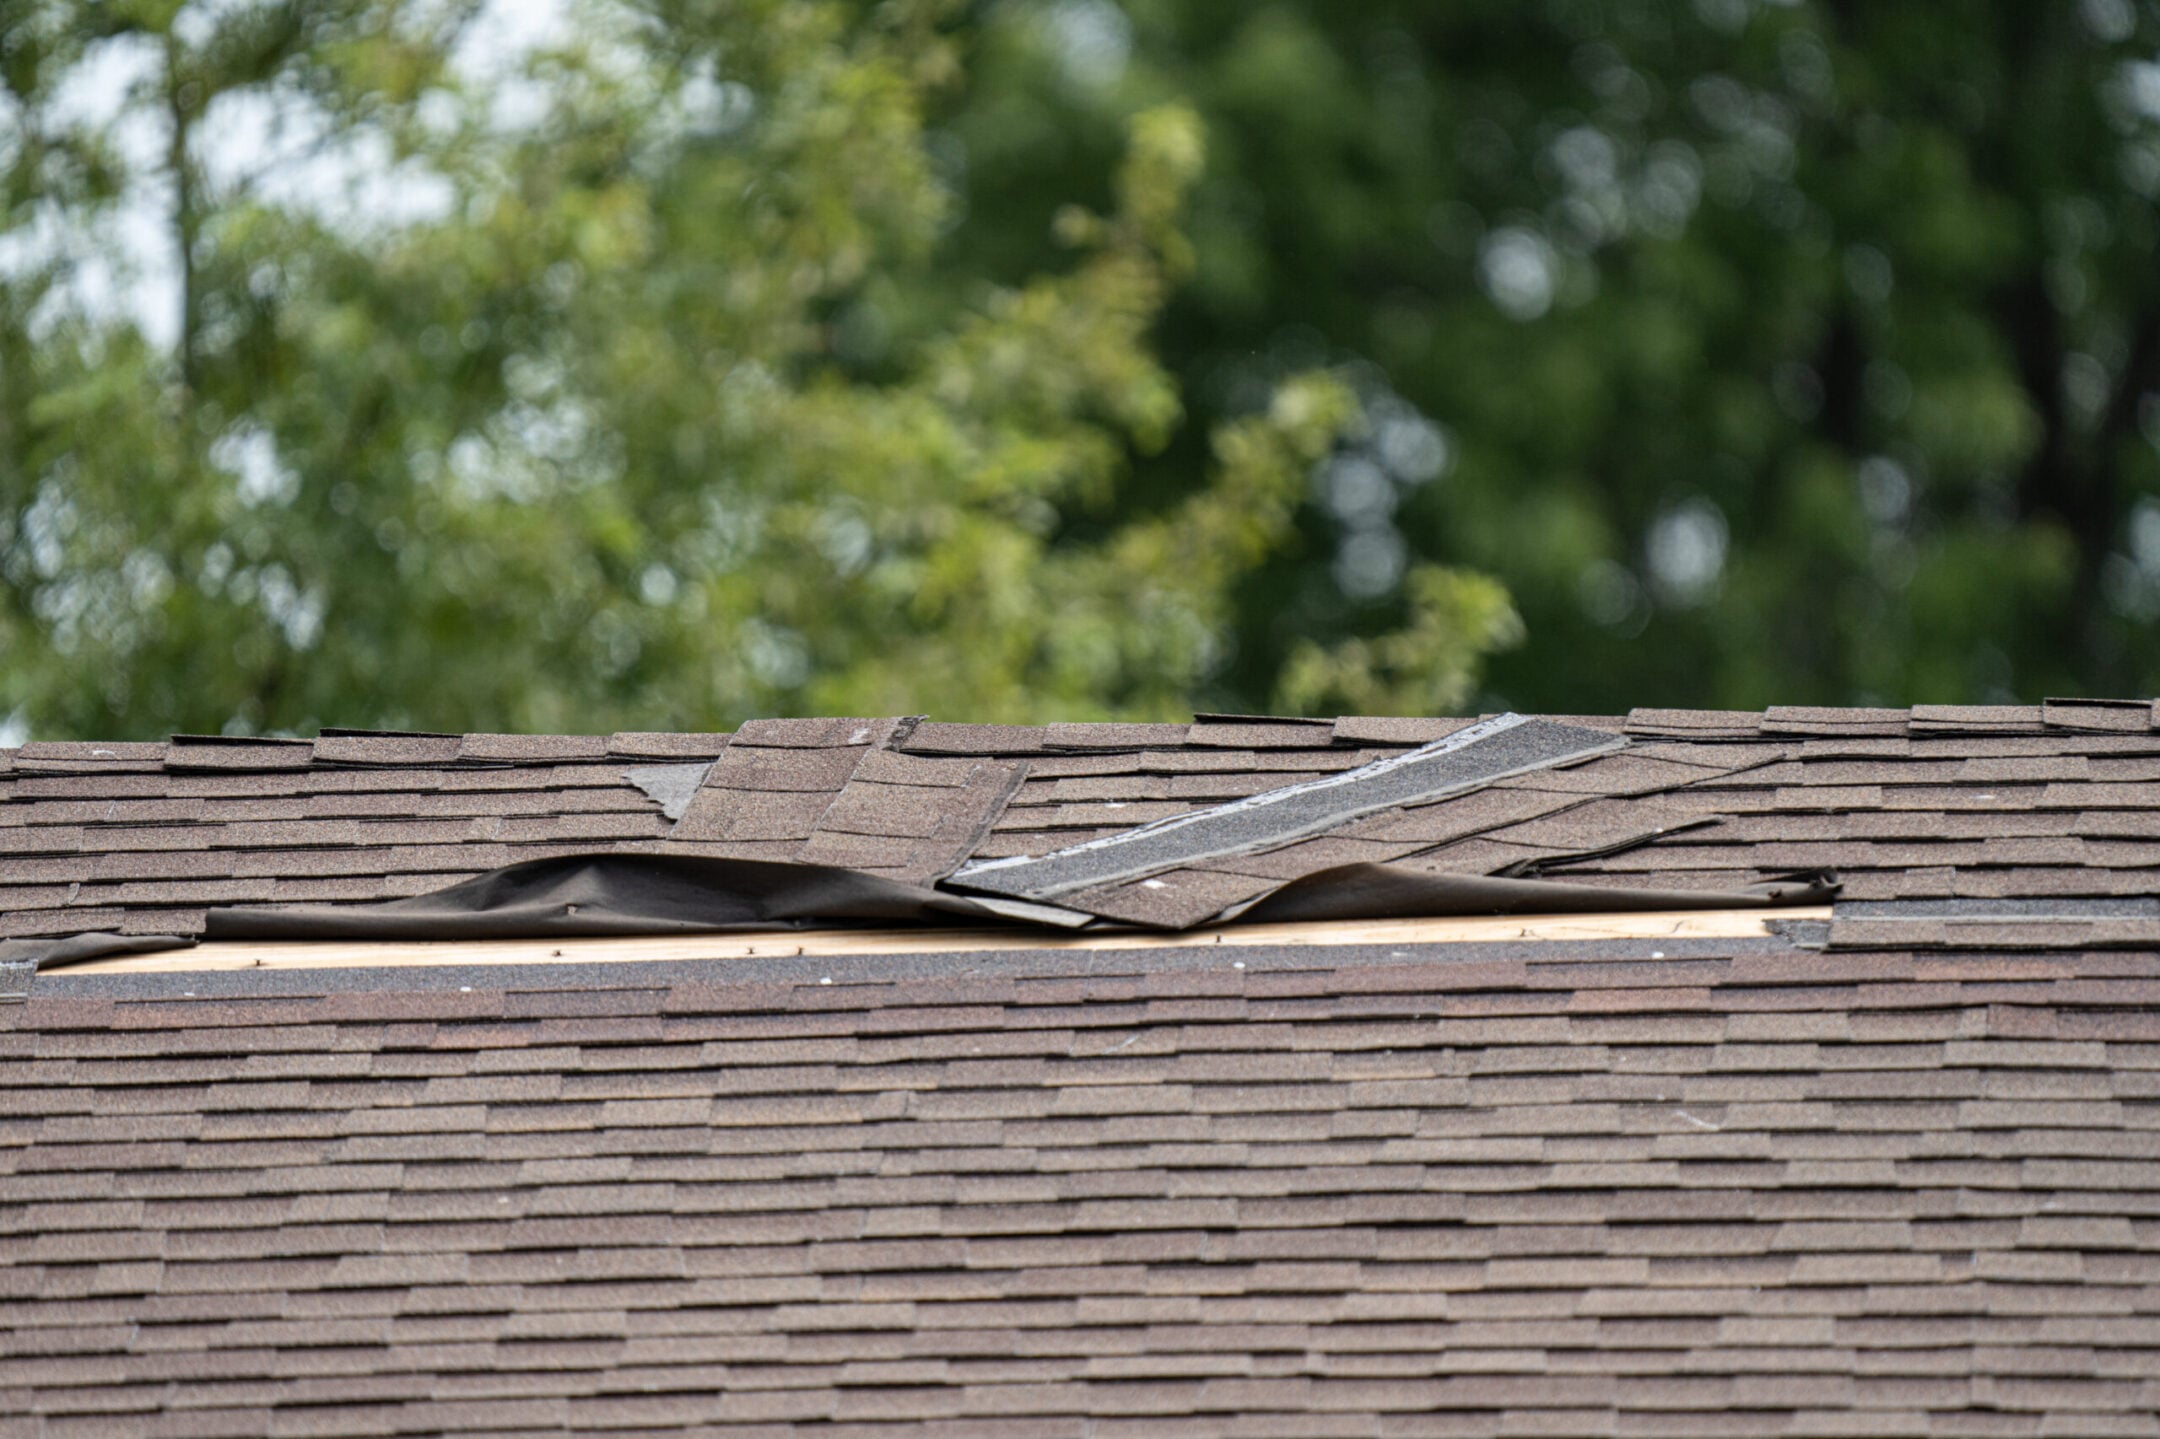
Before any cleanup, tarping, or repair work begins, get a complete photo and video record of the damage exactly as it is, including any damaged or missing shingles, dented vents, or other visible hail damage. Wind can peel back or completely tear off shingles, and in more severe cases, strong winds can damage rafters, trusses, or roof decks underneath, so it’s worth checking the attic for signs of structural stress in addition to the surface damage. Hail can bruise or crack shingles in ways that aren’t always obvious at first glance but still increase leak risk over time, so a close-up photo of any suspected impact marks is worth taking as well. Water stains on ceilings suggest active leaks from roof damage, so photograph those too, along with the date they were first noticed.
- Full coverage: Photograph the roof from multiple angles, along with any interior damage
- Context shots: Include wide shots that show missing or damaged shingles in relation to the rest of the roof, plus any falling debris still on the property
- Timestamp habit: Note the date the damage occurred and when each photo was taken
- Backup copies: Save copies of everything in more than one place, including cloud storage
2. Arrange Temporary Protection Right Away
If your roof has any active openings, an emergency roof repair like a tarp or temporary covering needs to go up before the next rain, regardless of when the full repair is scheduled. This kind of temporary roof repair isn’t optional in most cases, it’s actually required by your policy.
- Insurance requirement: According to the North Carolina Department of Insurance, all homeowners policies in North Carolina require you to protect your property from further loss or damage, including through temporary repairs like tarping
- Receipt tracking: Keep every receipt for materials or labor related to temporary protection
- Photo pairing: Photograph the temporary repair itself, both right after installation and periodically afterward
- Professional option: Ask your roofing contractor whether they offer emergency tarping as part of the repair process
3. Contact Your Insurance Company Promptly
If you plan to file a roof damage claim, don’t wait until the repair date to make that call. Claims adjusters will review your documentation and damage in detail, so the thoroughness of what you gathered in step one directly affects how smoothly this conversation goes.
- Early notice: Report the damage to your insurance company as soon as reasonably possible
- Claim number: Get your claim number and insurance adjuster contact information in writing
- Policy review: Ask directly what your policy covers and what your deductible will be
- Timeline expectations: Ask how soon an adjuster is expected to inspect the property
4. Get a Professional Inspection and Written Estimate
A detailed roof repair estimate from a licensed roofing contractor gives both you and your insurance company a clear scope of work to reference.
- Full scope: Confirm the estimate covers all visible damage, not just the most obvious issues
- Material specifics: Ask what roofing materials will be used and whether they match your existing roof, or whether a full roof replacement makes more sense
- Timeline clarity: Get a realistic start date and expected completion window in writing
- Comparison shopping: Consider getting a second estimate if your insurance company’s numbers differ significantly
5. Clear the Work Area Around Your Home
Roofing crews need clear access to the roofline, and a little preparation on your end speeds up the actual repair day considerably.
- Vehicle access: Move vehicles away from the driveway and areas directly under the roofline
- Yard items: Relocate patio furniture, grills, and potted plants away from the work zone
- Pet planning: Arrange for pets to be indoors or offsite during the noisiest parts of the repair
- Landscape flags: Mark any sprinkler heads or delicate landscaping the crew should avoid
6. Confirm Scheduling, Permits, and Material Lead Times
Once you’ve chosen a contractor, get specific about logistics well before the repair date arrives.
- Permit responsibility: Confirm who is responsible for pulling any required permits
- Material availability: Ask whether your chosen materials are in stock or need to be ordered
- Weather contingency: Ask how weather delays are typically handled and communicated
- Point of contact: Get a direct contact for the day of the repair in case anything comes up
7. Prepare Your Home’s Interior for Repair Day
Roof work causes more vibration and noise inside the home than most people expect, so a little interior prep goes a long way.
- Attic access: Clear a path to attic access points in case the crew needs to check from inside
- Fragile items: Remove or secure items on walls and shelves that vibration could dislodge
- Noise planning: Plan around the noise if you work from home or have small children or pets
- Debris expectations: Ask your contractor how they handle interior dust and debris control during the project

What Happens After the Repair Is Complete
Once the work is finished, ask your contractor for a final walk-through and any documentation you’ll need for warranty purposes or your insurance file. Keep copies of the final invoice, before-and-after photos, and any warranty paperwork together with the rest of your claim records. A properly completed repair also better protects your home against future storms, since any further damage from a repair that wasn’t fully addressed can complicate a future claim. If you’re still working through the insurance side of things, this documentation often matters just as much after the repair as it did before it.
Roof Storm Damage Repair: Common Questions Answered
Here are direct answers to the questions homeowners ask most while preparing for repairs.
How long does a typical roof storm damage repair take?
It depends on the scope of the damage, but most targeted repairs are completed within a day or two, while more extensive damage involving a full section replacement can take longer, especially if materials need to be ordered.
Should I wait for my insurance adjuster before making temporary repairs?
No. Most policies require you to take reasonable steps to prevent further damage right away, including temporary tarping, even before the adjuster arrives. Just document everything first if it’s safe to do so.
Can I choose my own contractor, or does insurance require a specific one?
Yes, in almost all cases, you have the right to choose your own licensed roofing contractor for a storm repair. Insurance companies may recommend contractors, but you’re not obligated to use them.
What if new damage is discovered once the repair begins?
A reputable contractor will document any newly discovered damage with photos before proceeding and communicate it to you and your insurance company, since it may affect the final scope and cost of the repair.
How much does roof storm damage repair typically cost?
Cost depends heavily on the extent of the damage, the roofing material, and whether the repair is targeted or involves a larger section replacement. A written estimate from a licensed roofing contractor is the most reliable way to get an accurate number for your specific situation, and that estimate becomes the basis for what your insurance company will reimburse.

Ready to Schedule Your Repair?
Getting a roof storm damage repair scheduled is only half the process, and the prep work in between makes a real difference in how smoothly everything goes. Summit Roofing can help with every step covered here, from emergency tarping and documentation support to a detailed written estimate your insurance company can work from directly. We coordinate around your schedule, keep you informed at every stage, and make sure nothing about the process catches you off guard.
Schedule your storm damage repair with Summit Roofing today.